One of my very favorite things about personal, handmade cards is that you can send, not just a birthday card, but a FALL birthday card. I've got several October and November birthdays on my calendar (twelve, to be exact!!) and I love that I can make their birthday cards special and personal with fall themed embellishments.
Creative Impressions has an excellent selection of autumn themed and colored embellishments for fall birthdays and other occasions.
Below you'll find a tutorial for making these colorful cards.
Last week I went to a meeting where we were served finger foods along with these gorgeous fall napkins. I try, as best as I can, to hoard the napkins without being noticed!! This technique to make cards using napkins can be really fun to send a thank you note for a birthday or other celebration using the napkins from the event.
Separate the layers of the napkin. They are generally three ply, so make sure the printed layer has no white layer attached. If it is, you'll end up adhering the white layer and not the printed layer, which is what you want.
Layer a cut piece of card stock, then a layer of a trimmed piece of a Zip Lock (or other brand) bag, then the napkin, as shown. I find it easiest to cut the plastic a bit larger than the card stock and the napkin a bit larger than the plastic. Each layer should completely cover the layer below.
Funny story: I learned this technique using kitchen plastic wrap, like Saran Wrap. I taught this at my store and people were having trouble with it. The layers weren't adhering well. We figured out we had "microwave safe" plastic wrap. No good for this technique!! What we want is for the plastic to melt and microwave safe plastic is engineered NOT to melt. The plastic used for Zip Lock bags melts and is thicker and I like it better for this technique. You may have other plastic materials in you house that would work, as well.
Sandwich your layers and then iron on the hottest setting, dry heat. If the napkin layer completely covers the layer below, you won't have to worry about melted plastic on the iron. I've done this covering the whole thing with a paper towel, but I think it works best without it so that the heat is directly applied to the napkin.
I used my folded cotton "inky binky" for an ironing surface. If you pull up the layers while still warm, any melted plastic on the cotton surface pulls away easily.
Give the layers a few seconds to cool. When you can handle them easily, trim away the excess material.
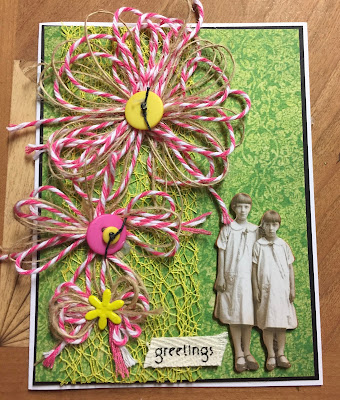
Creative Impressions felt leaves come with a hole at the end of the stem for fastening with a brad. Sometimes I use this and sometimes I cut it off.
I cut them off for this card and thought they could be used for a little extra detail. They looked like washers to me, so I layered them behind the brad head.
I LUUUUV how pliable the metal used for Creative Impressions brads are. These leaves bend easily and give a fluttering, natural look.
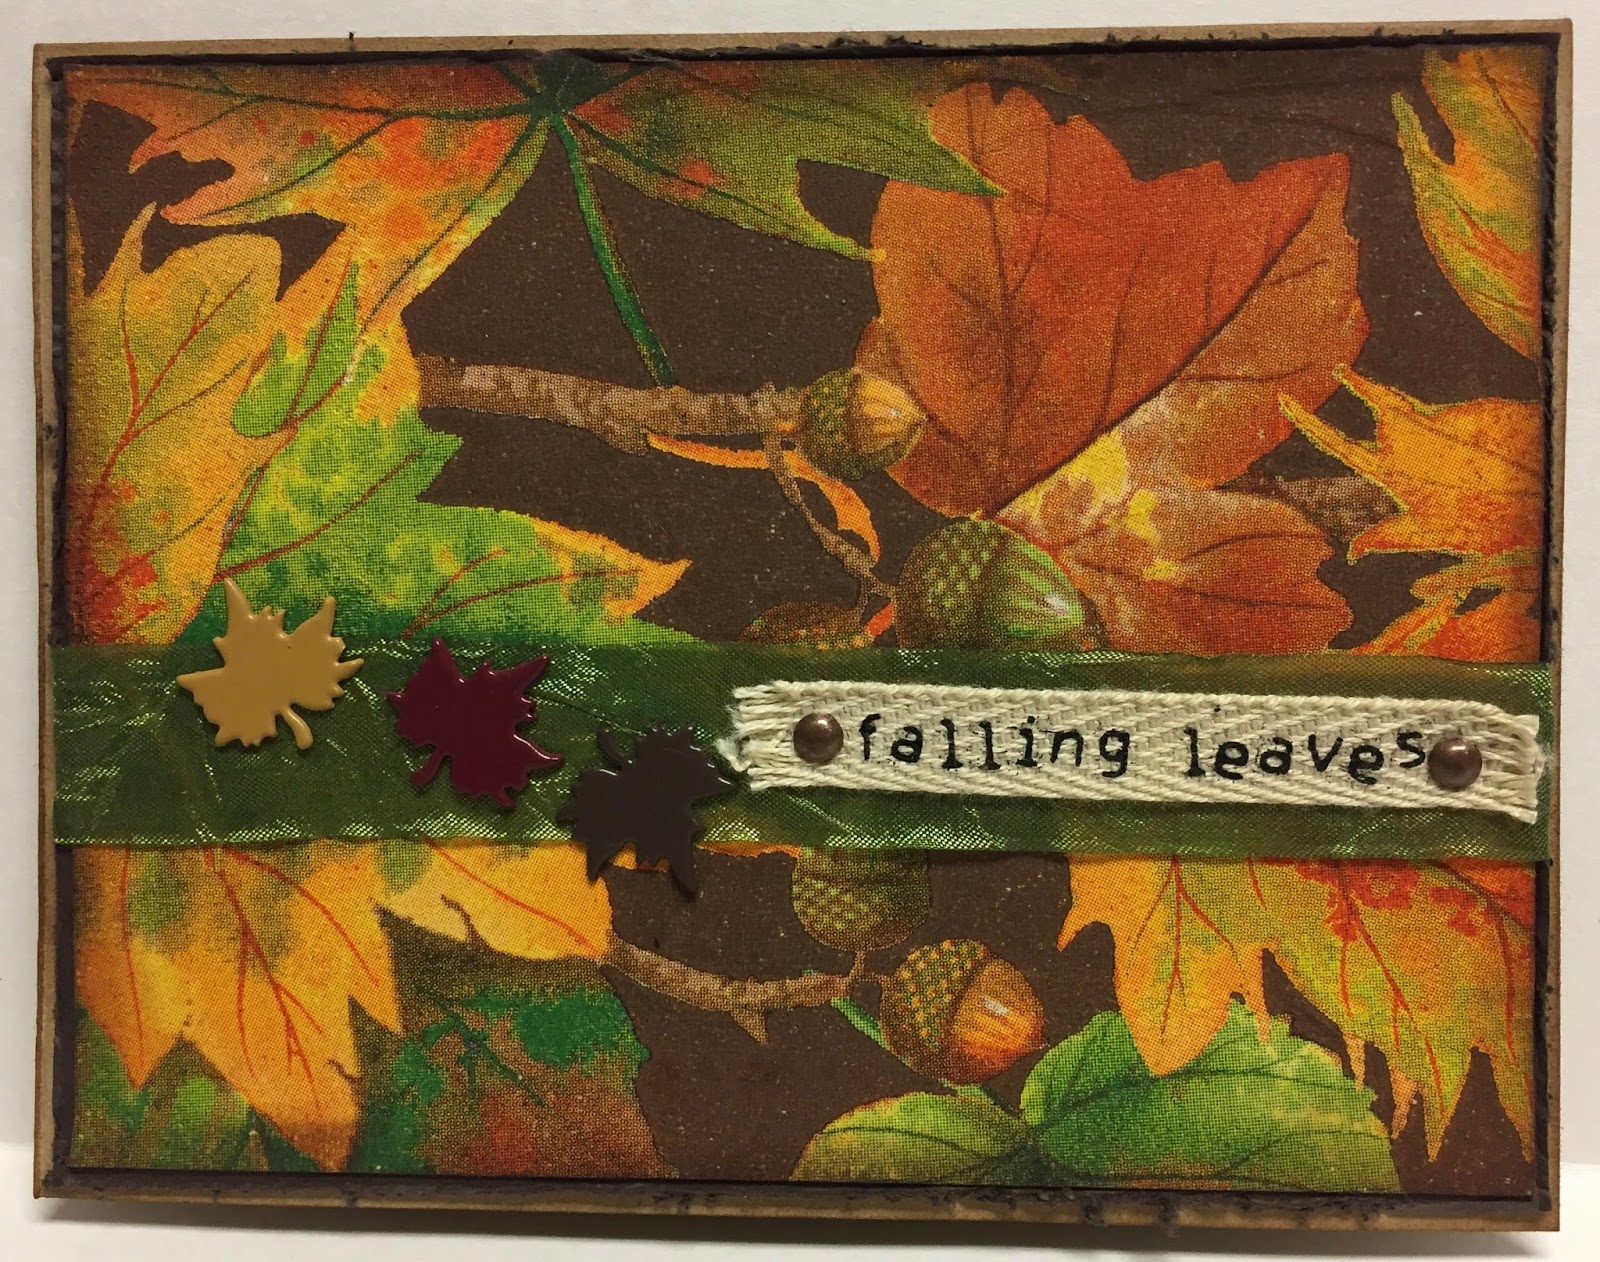
You may not be able to see it well in the photograph, but this card has this pretty fall leaf ribbon layered over a green grosgrain ribbon. Love how Creative Impressions ribbons can be layered and used together.
Instead of trimming excess material with scissors, I tore away the excess around the edge of the card stock. Just a way to get a different look for this card. Antique copper frame, maple leaf, and brads combine for an elegant focal point, and cork paper sets it off!
Its so easy to use Creative Impressions embellishments to add more detail to make your cards special for the special ones in your life!